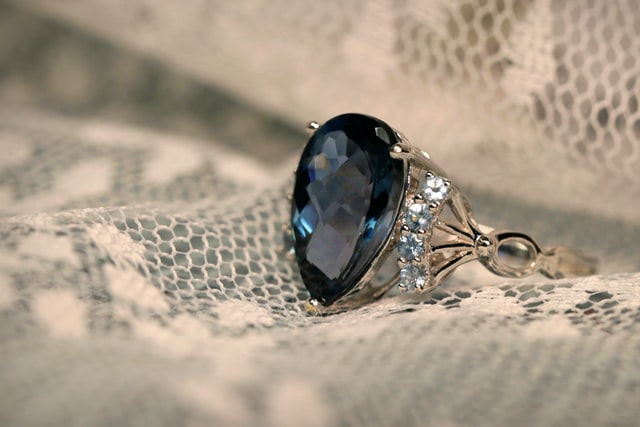
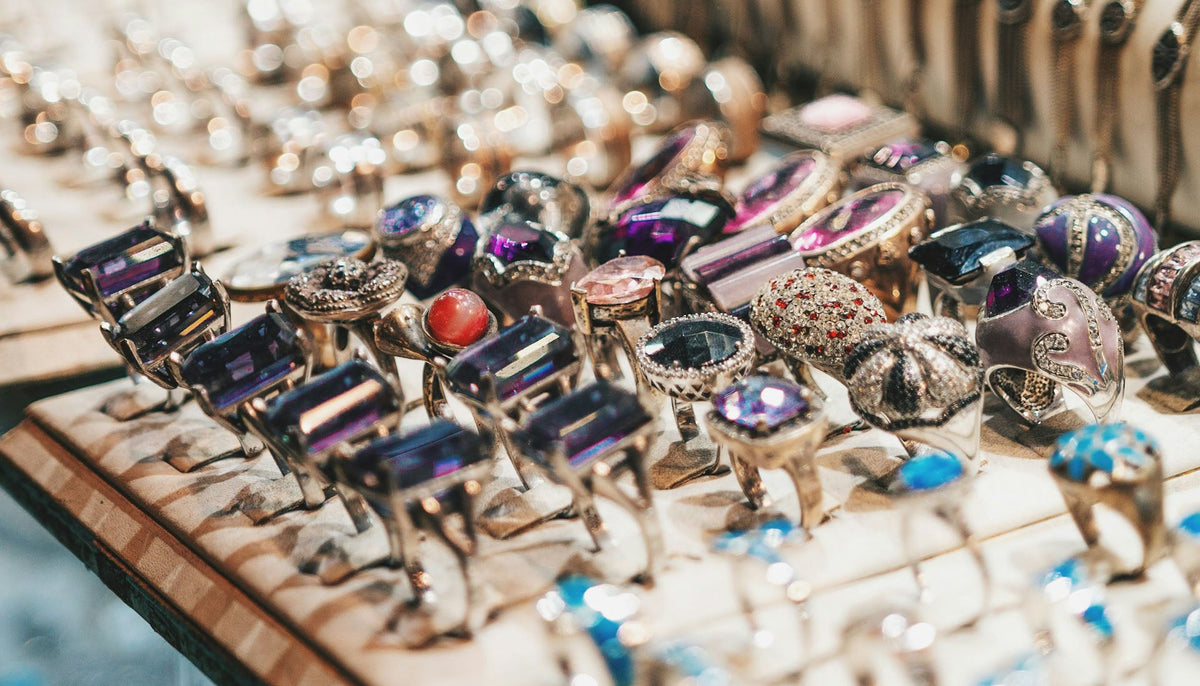
No need to hire a professional photographer to take aesthetic product shots. A few photography tips can do the trick.

Some starting jewelry shop owners do not have the budget to hire professional photography services. Even buying a DSLR camera can burn a hole in your pocket.
But did you know that your smartphone can take professional-looking product photos too? Using a smartphone is the most cost-effective and convenient way for starting jewelry businesses to produce product images.
We understand if you're skeptical about it. But what is there to lose? Smartphones today have high-quality cameras that can give aesthetic photos of your retail or wholesale fashion jewelry pieces.
So if you are willing to try it out, here are six smartphone photography tips to taking jaw-dropping product photos for your disposal:
- Make sure that you have a good smartphone camera.
- Go for a simple background.
- Make sure to get the lighting right.
- Stabilize your camera.
- Use the phone camera features.
- Edit your photos.
#1 Make sure you have a good smartphone camera.

As mentioned above, smartphones today come with amazing cameras capable of capturing high-quality images. With that said, the phone you are using now has a good cam. If you think otherwise, ask your staff if they have better phone cameras.
Good phone cameras usually have the macro function, which is important for taking smaller jewelry pieces. They can also take high-quality photos even in a low-light setting.
#2 Go for a simple background.

Pretty patterned backgrounds are so tempting to use, but it is actually not recommended. Busy designs can take the attention away from the jewelry. So aim to get a plain, clean backdrop.
Simple backgrounds are easy to achieve. Look for a bare wall in your home or office. If not possible, you can use a towel, table cloth, paper, or even a plain shirt. Tiled walls look great, too, as long as they do not have elaborate patterns.
#3 Make sure to get the lighting right.

Believe it or not, you do not need to spend on costly lighting equipment either. Natural light is the best light there is! The sun gives off warm tones that look perfect on all types of jewelry.
If you really need to take photos at sundown or during a gloomy day, you can use bulbs with daylight brightness. These bulbs emit the light as the sun. Alternatively, you can make a DIY lightbox as a diffuser.
#4 Stabilize your camera.

Once you are ready with the lighting and your backdrop, the next thing to prepare is your smartphone camera. Use a sturdy tripod to prevent getting blurry images. These tripods are cheap, and you can conveniently order online. At the same time, you can create a DIY tripod using items found at home or on your office desk. As long as the phone stays put, you're good to go.
One good tip is to use the grid function. Grids can help you align the jewelry piece in the middle of the frame. Another tip is to use the timer. This is especially helpful for those who tend to shake the camera when pushing the shutter button. A three-second timer would be enough to take the pic and let the phone settle.
#5 Use the phone camera features.

Phone cameras have numerous options to help you get perfect product shots. From the brightness levels to exposure levels, camera features are very helpful.
Here are the features you need to consider:
- Macro– The macro function is key to getting the perfect close-up shots of jewelry pieces.
- Focus – Most phones will just require you to tap the screen to focus on the jewelry piece.
- White balance – This feature is essential if your backdrop is white so you can adjust the warmness levels.
- Exposure – Most smartphones today have semi-automatic modes to help you adjust the camera exposure. Alternatively, trial and error shots with different shutter speeds and ISO can get you the perfect setting.
- Timer– As mentioned above, timers are perfect for shaky hands.
- Burst mode - Burst photos allow you to capture multiple shots in case tripods are not available, and you cannot get a clear picture. Most phones will just require you to keep your finger pressed down on the shutter button. And once you've taken a set of burst photos, select the best image from the collection.
#6 Edit your photos.

Editing your freshly captured product photos does not need you to be a PhotoShop expert. There are plenty of free editing phone apps or even online. The phone itself comes with an image editor for basic editing needs.
Here are the three most important factors to consider when editing your product images:
- Crop – Square is the preferred size for product images, so you can easily upload them on Instagram, Amazon, and on other platforms.
- Brightness and Contrast – Correct the brightness and contrast of the images and make sure this setting is consistent among all your photos.
- Sharpen – Sharpening the pictures can make the small details of the jewelry pieces more visible.
The takeaway
Following these tips can get you professional-looking photos without spending much. Of course, practice makes perfect, so if you think the pictures you capture are not good enough, you can try different lighting techniques and filters on your phone or using apps online.
And remember -- patience, passion, and a steady flow of creativity are the formula of getting aesthetic product photos!


